Thistlezyme®, as mentioned in previous blog posts, is a versatile coagulant for cheese making. It can be used in making hard pressed cheeses, fresh cheeses and even mozzarella or other stretched curd cheeses.
Much like “America’s Test Kitchen” we have our “Thistlezyme® Test Cheese Maker” at Winding Road Artisan Cheese in Smoky Lake, Alberta. As they use Thistlezyme® in making all their cheeses, they were asked by a client to make a special order of Mozzarella. Once again, they were up to the challenge and as was Thistlezyme®.
There are many versions of mozzarella that are on the internet, varying from a “Quick” or 30-minute mozzarella to traditional cultured versions. We decided to make the traditional cultured version, since we have been successful with the “Quick” versions already (if you want a formula for quick mozzarella please email)
This formula uses 70 liters of milk, while using Greek Style Yogurt as the starter culture. You can use 2 g of TA60/61 instead.
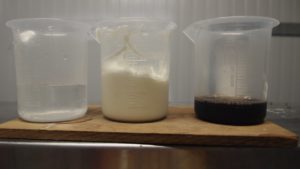
First prepare 5 Ml of CaCl2 in ¼ cup of water, 120 ml of yogurt and 60 ml of Thistlezyme®
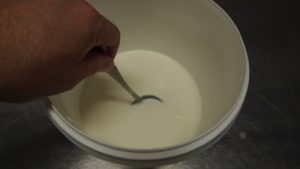
Start to heat the milk in your vat to 350 C/950 F, add your CaCl2 and at 100 C/500 F draw off about 1 liter of milk in a bucket and thoroughly mix your yogurt with the milk.
When the milk reaches 150 C/590 F add the milk/yogurt mix back into the vat and continue heating to temperature.
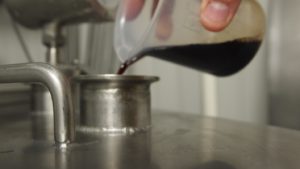
Once you have reached 350 C/950 F you can then add your Thistlezyme® and allow it to rest for 2.5 to 3 hours.
Checking for a clean break, if you do not get a clean break wait an additional 10 mins and recheck.
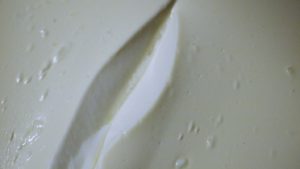
Once you have your clean break you can then cut the curd into 1.3 cm/ 0.5-inch cubes and let rest for 10 to 15 minutes. Then you can start stirring the curds gently for the next 10 to 15 minutes. This should loosen up the curd mass and allow the curds to shrink in size. The curds should start to resemble a poached egg.
Your next step is easy you do nothing. Your next step is to allow the curds to settle under the whey for the next 30 to 60 minutes, while maintaining temperature (350 C/950 F). This will allow for the acidity to increase. You are looking for a pH of 6.0 to 6.1 before moving on.
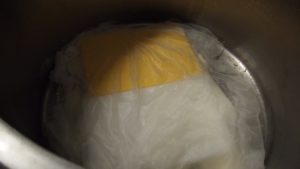
At this time you can drain the whey from the vat, though you might want to save some for stretching the curd later, while allowing the curd to form one even layer on the bottom of the vat.
You will see similarities with cheddar at this stage of the process, as you want to cut the curd into slabs and flip every hour until you reach a pH of 5.1 to 5.3. This can take a few hours so be prepared to keep your curd slabs warm. We used a couple of layers of synthetic cheesecloth.
Once you have reached the pH you want it is time to test the curd to see if it is ready to stretch. You could have the right pH but if the curd is not ready it will not stretch.
First heat your reserved whey or water (you will need about 2 gallons/8 liters) with 1 cup of salt in the water to between 700 – 800 C/ 1580 – 1760 F. Have a bowl with ice water ready to chill/shock the cheese, add a little salt to the water too. Also have a bowl to work the curd in. It is recommended that you wear waterproof insulated gloves to protect your hands. There is nothing worse than a burn from near boiling water or molten cheese.
To test the curd, take a few small pieces of the cheese and crumble it into your working bowl. Pour your hot water along the side of the bowl until you have covered the curd. Do not pour over top of the curd as you could cause it to disintegrate.
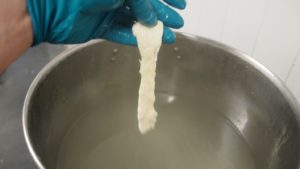
Allow the curd to heat up in the water, this could take up to 10 minutes. There are 2 ways to check the curd. One is to take a spoon and stir the water and if the curd is ready it should start to stretch from the spinning motion. I have never had any luck with that one so I use the second way, which is gathering up the curd and work it a bit to see if it will stretch.
If it does not stretch then you need to keep flipping your curd slabs for another 30 to 60 mins or until it stretches. All the while keeping it warm and if need be add some light pressure to the curd slabs, plastic cutting boards work well.
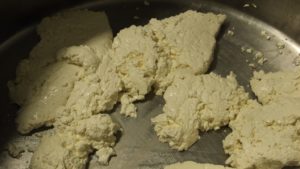
Once your curd stretches from your test batch it is time to remove the curds from the vat and mill them just like you would a cheddar.
The reason we cut up the curd, is to allow more surface area for the hot water/whey to heat. This will speed things up significantly, rather than if you had the curd slabs just in the water
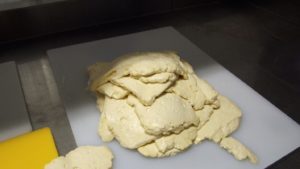
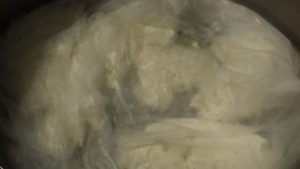
Try to work the curd in manageable amounts. Do not try to heat all your curds at once or you will have to change the water more often before they reach the right temperature. Allow the curds to rest for a few minutes before stirring a bit to get things moving and warming up.

Once your curds are stretching, gather up a handful and press them together. You can then start to stretch the curds and fold them back onto themselves. If your curd starts to tear then you have to put it back in your water to heat up. It is a common misconception that you have to stretch and stretch the mozzarella a lot to make it. I have made it by just kneading it and also by stretching it. It is up to you and what desired texture you want. If you work it too much it will be drier and firmer. Play around to see what you like.
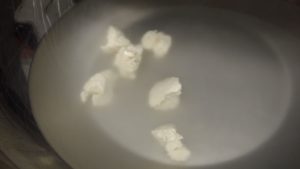
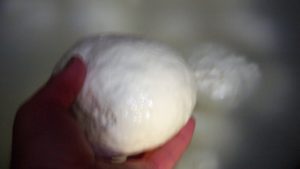
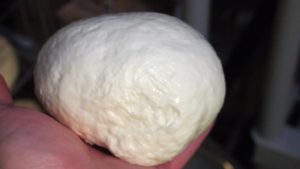
Once you have your curd ready you can form it into a ball by pushing the curd up through a hole made by your index finger and thumb. Once formed, pinch off the ends and place the ball immediately into ice water. This will shock the cheese and start to cool it off. If you do not do this your perfectly formed ball will turn into a mozzarella pancake. Keep the mozzarella in the water for about 30 to 40 minutes to ensure the core of the cheese is cooled.
You can store the cheese in plastic wrap or in a light brine for 3 to 4 weeks as long as it is refrigerated.
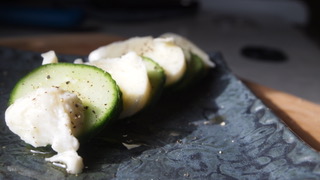
Do not be discouraged if the cheese is not formed into perfect balls or be limited to just making mozzarella balls. Make other shapes, braids etc. I saw another cheese maker who after stretching presses the mozzarella to make “Pizza Mozzarella.” Mine were not perfect, but were tasty none the less.
As we mentioned before Thistlezyme® is a versatile coagulant for cheese making. The possibilities are endless, and it also works well with various types of milk too. The Centre for Dairy Research in Wisconsin, is conducting the “2018 Master Artisan Short Course Series, Sheep, Goat and Mixed Milk Cheeses” and the Enzyme Development Corporation will be there with a practical presentation on how to use Thistlezyme® and a discussion on day 2 of the course about Thistle Rennet.